
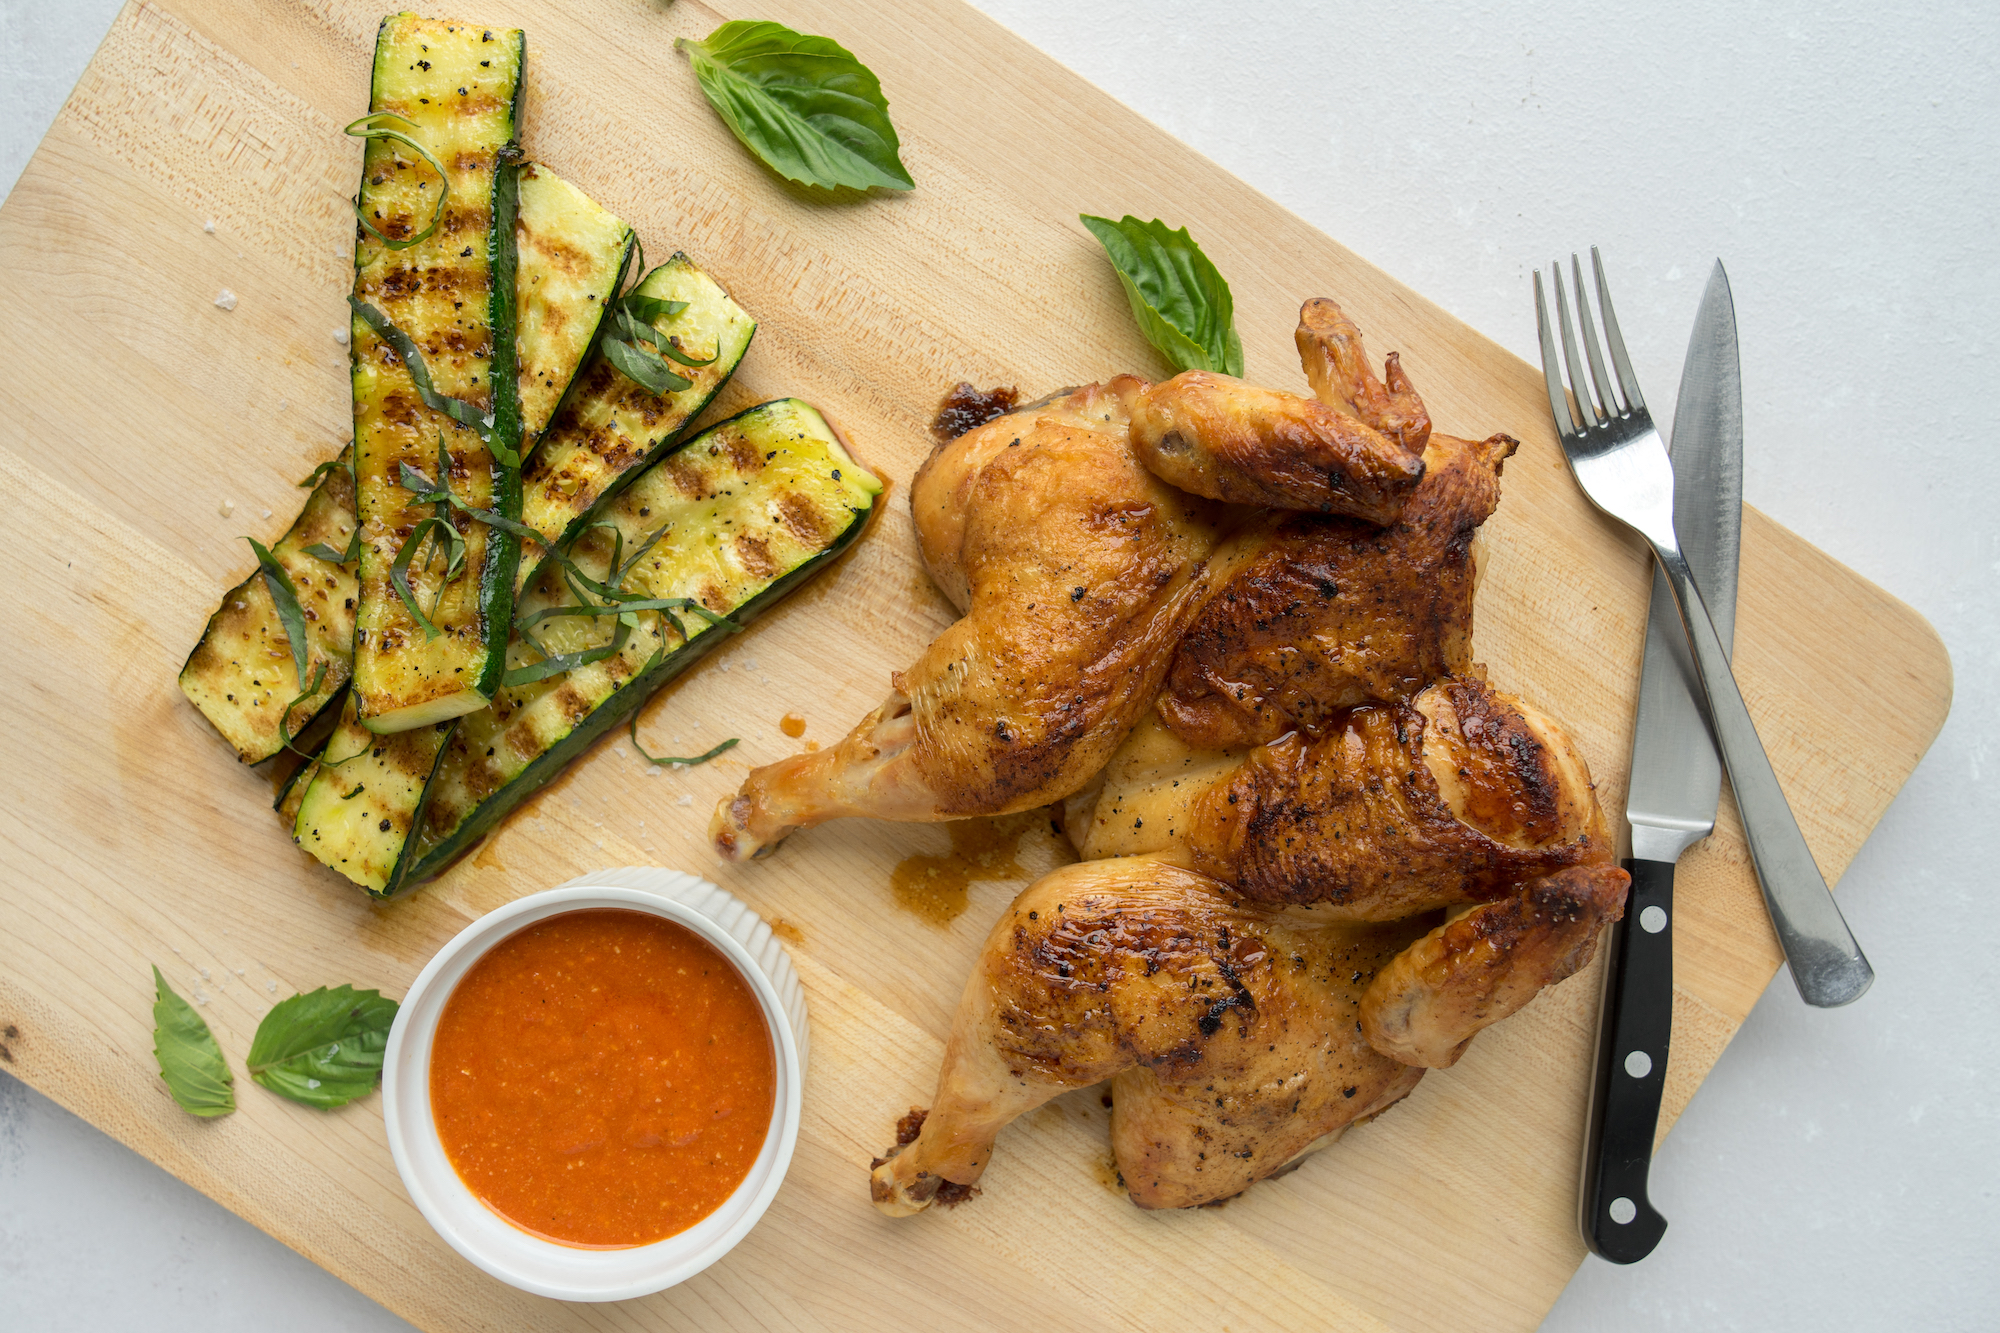
Grilled Spatchcock Chicken with Romesco Sauce + Grilled Zucchini

Why we love it:
Ingredients
- 31⁄2 pounds Chicken, Whole (whole, backbone removed aka spatchcock. sometimes you can buy it like this, or ask the butcher to do it for you)
- 3 teaspoons Kosher Salt (divided)
- 1⁄2 teaspoon Black Pepper (to taste)
- 1 teaspoon Paprika
- 4 Tablespoons Extra Virgin Olive Oil (divided)
- 2 Bell Pepper (Orange, Yellow or Red)s (red peppers are preferred for the sauce)
- 2 cloves Garlic
- 4 Roma Tomatos (early girl, slicer, plum - any small red tomato works ok)
- 1⁄2 cup Almonds (sliced are easier to blend)
- 1 cup Breadcrumbs (or 1 slice of sandwich bread, or leftover baguette, hamburger bun, etc)
- 2 Tablespoons Sherry Vinegar
- 1⁄4 bunch Fresh Parsley (chopped)
- 1 pound Zucchini
Cooking Instructions
-
1. PREHEAT THE OVEN TO 425 DEGREES
Move a rack to the lower third of the oven.
-
2. CHICKEN
Line a baking sheet or large casserole dish for roasting the chicken. If you have a BBQ grill nearby and ready, this is an amazing way to cook a spatchcock chicken - set it to medium high.
Place the chicken on a clear surface and pat it dry with a paper towel if it has any moisture on it. Liberally coat the chicken on both sides with 1 1/2 teaspoons of salt, up to 1/2 teaspoon freshly cracked black pepper (to taste), and 1 teaspoon of paprika. Drizzle about ½ teaspoon of olive oil over the chicken on both sides and rub it in.
Place the chicken skin side up in the pan. Arrange the legs and thighs so everything is laying flat and all of the skin is facing up. Put the pan on the lower rack in the oven. Cook for about 30 minutes in this way.
If BBQing the chicken, put in on a plate to take outside to the grill. Place the chicken skin side down, arranging the legs and thighs so they’re flat and all touching the grill. If you make your first placement and it’s not perfect, it’s actually better to just leave it rather than trying to move it as this will just tear the skin. Cook it for about 10 minutes, then carefully pick it up with tongs and a spatula (one in each hand) and rotate it 90 degrees and cook for another 10. Cook with the lid closed.
-
3. PEPPERS
Cut the 2 red bell peppers in half through the stem. Use your fingers to pluck out the seeds and membrane. Roast them. (This could be on the outdoor grill, on a pan in the oven, or directly on the grate of an indoor gas grill). Roast for about 6-10 minutes on high, or medium high heat until the peppers are softening and charred in spots.
-
4. NOTE ON BREAD
* The bread here can be almost anything. Leftover baguette, sandwich bread, bread crumbs, a hamburger bun….it’s also optional if you want to keep it GF.
-
5. SAUCE
While the peppers are roasting prep the rest of the sauce. Directly into a blender add the garlic cloves, 4 tomatoes (chunked up in half or quarters), 2 Tablespoons extra virgin olive oil, 1/2 cup sliced almonds, 1 slice of bread, 2 Tablespoons sherry vinegar, 2 tablespoons of chopped parsley, and 1 teaspoon of salt.
When the peppers are ready, remove from the heat. If you can handle it, scrape off any charred areas, or just toss them in as is to the blender. The char actually adds a delicious summer flavor.
Blend until the sauce is mostly smooth and emulsified but retains just a little coarse texture. If you had trouble getting it smooth, you can drizzle in up to a Tablespoon of water and/or more olive oil.
-
6. ZUCCHINI
Trim off just a sliver of the stem end. Then slice all of the zucchini into long planks, about 4-5 slices per squash. Place in a bowl and drizzle 1-2 teaspoons of olive oil and ½ teaspoon of salt over top, toss to coat.
Another decision to make - for hands off cooking, place zucchini on a baking sheet and roast. If you have a grill pan, you can heat over high and sear them for nice grill marks. Or, if cooking the chicken outside, take the zucchini to the grill as well. Whichever you decide, cook zucchini for about 2 minutes on each side, carefully flipping once, and remove from the heat to a platter, when they are mostly soft but still firm enough to hold their shape. Sprinkle them with another 1-2 Tablespoons of chopped parsley.
-
7. CHICKEN
Continue roasting the chicken for another 15-20 minutes. If BBQing, you can turn down the heat to medium and flip it over so the skin side is now up. In the oven just rotate the pan for this last leg of cooking.
The chicken will be done when it reaches 165 degrees in the thickest part of the leg or thigh. If using a thermometer, don’t let it touch the bone. If not using one, you can poke a little slice into the thigh with a paring knife and see if “the juices run clear.” Also, the meat should feel firm when pressed, not jiggly. If you didn’t open the oven much and your oven is at 425, a 3.5-4 pound chicken without a backbone will reliably be done after 45-50 minutes in the oven though. And, you’ll get more comfortable over time at judging!
Remove the chicken from the oven and let it rest, ideally up to 10 minutes.
Slice off the legs and thighs. Separate them if desired. The best way to slice the chicken is to cut the breast off whole - slice in between the breasts, skirting just past the bone, then underneath the whole piece. When you have it removed, slice across the breast into thin slices. Repeat with the other side.
-
8. SERVING
Serve the chicken with sauce and zucchini on the side. Garnish as desired with more fresh parsley. All of these components are delicious served hot, cold and anywhere in between!
Check out our new features!
Substitutions
Prep Ahead & Use It Up
Rate this recipe:
 (3 votes, average: 5.00 out of 5)
You need to be a registered member to rate this.